
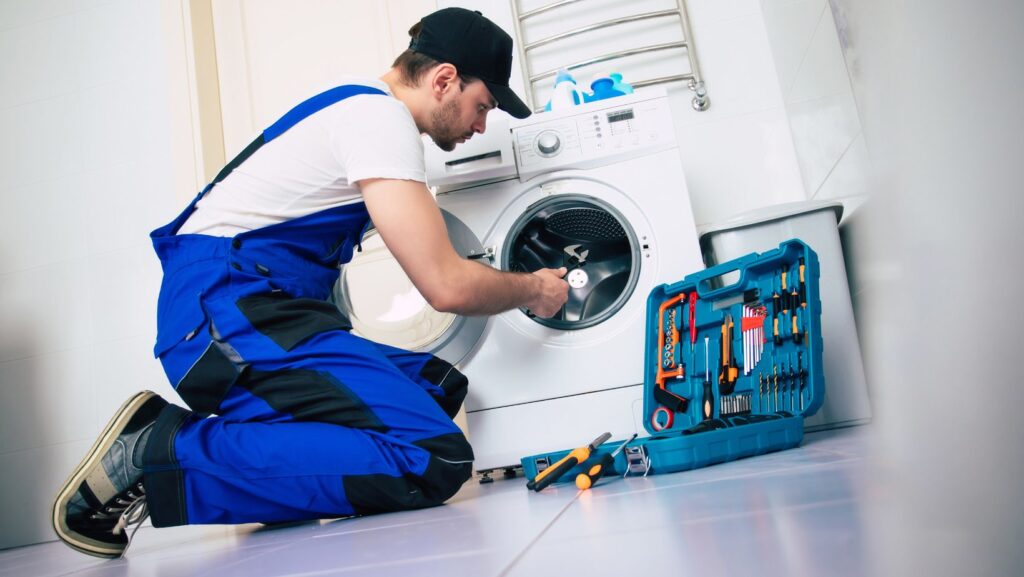
When a washing machine stops functioning properly, it can disrupt an entire household’s rhythm. From clothes not spinning to water leaking across the floor, every issue points toward an underlying cause that must be identified before repairs begin. Accurate problem diagnosis prevents unnecessary part replacements and helps restore performance efficiently. Diagnosing involves observation, testing, and careful inspection of components such as hoses, motors, sensors, and switches. Each of these plays a role in the washing cycle’s smooth operation. Learning how to recognize early warning signs also reduces the likelihood of costly breakdowns and improves long-term reliability.
How to Begin with Basic Visual Inspections
Diagnosing washing machine problems always begins with careful observation. How visual checks provide essential clues before more technical testing begins. Start by unplugging the machine and checking for visible damage, such as frayed power cords, loose hoses, or clogged filters. Many operational issues stem from simple wear-and-tear components rather than major mechanical faults. Checking water inlet connections ensures the machine receives a steady flow, while inspecting the drum for foreign objects can resolve balance and noise issues. Small leaks often originate from worn door seals or improperly fitted drain hoses. Observing these small yet significant details can help identify whether the problem is mechanical or electrical. If water remains in the drum after a cycle, examining the drain pump and filter may reveal obstructions. This first stage of visual inspection saves time, reduces guesswork, and helps determine whether professional repair or simple cleaning will restore normal function.
How Power, Sensors, and Water Flow Affect Performance
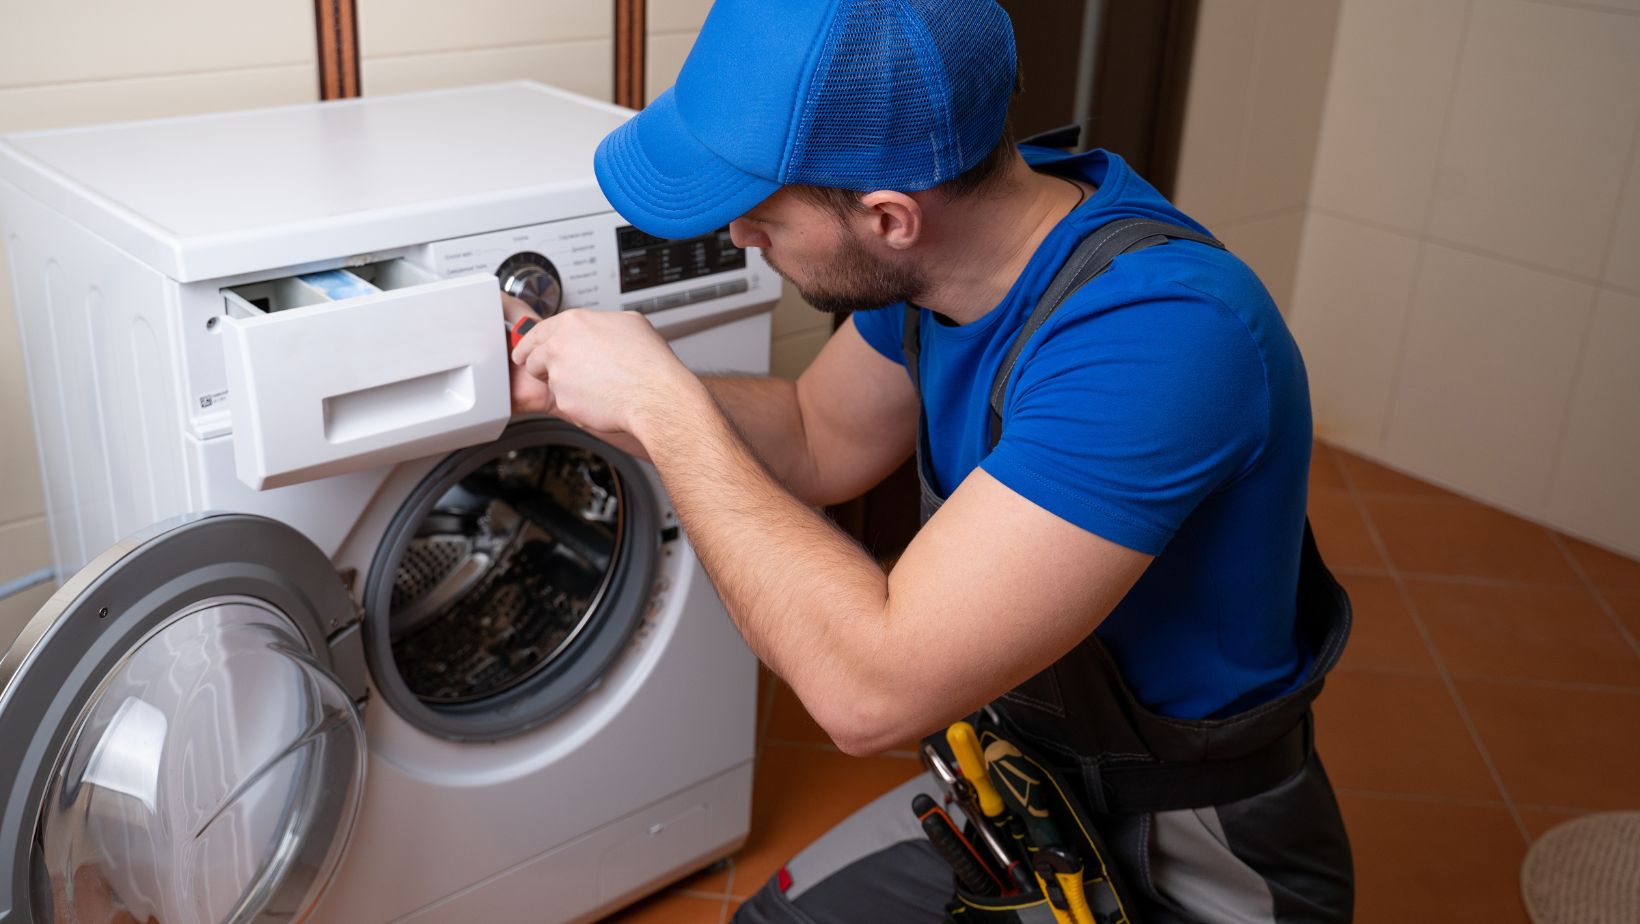
Electrical connections and water-regulation systems are among the most critical components of a washing machine’s operation. Checking these systems helps isolate problems related to cycle failure or poor performance. Begin by confirming that the outlet is supplying power, then examine the washer’s internal fuse or circuit board for signs of overheating or a loose connection. The machine’s sensors—especially the water-level and lid-switches—play an essential role in cycle timing. Faulty sensors can stop the washer from filling, spinning, or draining correctly. Water inlet valves and pressure hoses should also be examined for clogs or calcium buildup that restricts flow. Some machines fail mid-cycle due to uneven water pressure, which confuses internal sensors. It’s vital to keep the system clean and ensure a steady supply. When replacing faulty components, users can order the parts needed for their washer here, ensuring compatibility with their model. Proper inspection of these electrical and hydraulic components ensures stable operation and balanced washing performance.
How Mechanical Parts Determine Cycle Efficiency
Mechanical components drive most of the physical motion in a washing machine, and their failure often results in noticeable noise, vibration, or imbalance. How to test and assess these components for issues. Start by checking the drum bearings and suspension springs that support the drum during spinning. Worn bearings produce grinding sounds, while broken springs allow the drum to move excessively. Next, evaluate the drive belt or direct-drive motor coupling, which transfers power from the motor to the drum. A loose or damaged belt will cause poor spinning or no motion at all. The agitator or impeller, depending on the washer type, should also move smoothly without resistance. If it’s jammed, cleaning or part replacement may be necessary. Testing the motor itself using a multimeter can verify electrical continuity and power output. Proper mechanical balance ensures quiet, smooth operation and reduces strain on connected components, such as the pump or gearbox assembly.
How Drainage and Pump Systems Influence Function
A washer that fails to drain properly or leaves clothes excessively wet indicates issues with the pump or drainage system. How to identify the root cause of these problems. Start by inspecting the drain filter and hose for debris buildup, lint, or small clothing items that could block the flow of water. A clogged pump impeller can cause the machine to stall mid-cycle, while leaks around the pump housing may indicate seal failure. Checking the pump’s electrical continuity ensures it’s still receiving the correct power supply.
Additionally, testing the washer’s pressure switch ensures it correctly detects when the drum is empty. Faulty sensors may prevent the pump from activating altogether. If water drainage slows down gradually, this often signals early pump wear rather than sudden failure. Regular maintenance, including periodic cleaning of the filter and hose, helps keep the drainage system running efficiently and prevents odor buildup, overflow, or incomplete washing cycles.
How Modern Diagnostic Tools Improve Accuracy
Modern washing machines often include built-in diagnostic modes to assist with troubleshooting, how these digital tools simplify repair analysis and reduce errors. By pressing specific button combinations, many washers display fault codes on the control panel that indicate where to begin inspection. These codes correspond to electrical, mechanical, or sensor issues, allowing quick identification without full disassembly. For example, an “E1” code might indicate a drainage problem, while “F3” may indicate a temperature sensor failure. Pairing these codes with a multimeter test can confirm the issue before replacing parts. Smartphone apps and online databases now make it easier to interpret these signals. When combined with manual inspection, diagnostic features provide a comprehensive view of the machine’s health. Using these modern tools ensures accuracy, reduces unnecessary costs, and accelerates the repair process. Regular use of diagnostic checks promotes better maintenance habits and longer appliance lifespans.
How Routine Maintenance Prevents Major Failures
The most effective repair strategy is prevention through consistent maintenance. How regular care minimizes breakdowns and extends appliance life. Cleaning filters, balancing the machine on a level surface, and avoiding overloading are simple but powerful habits. Checking hoses for cracks and replacing them every few years prevents leaks and flooding. Using the correct detergent type and dosage reduces residue buildup that clogs drains and damages pumps. Periodic inspection of wiring and connections also helps prevent electrical shorts. Keeping the drum clean prevents foul odors and bacterial growth, improving both performance and hygiene. Scheduling an annual inspection can catch early signs of wear before they develop into costly repairs. These preventive actions, though simple, ensure your washer remains efficient, quiet, and reliable for years to come. A well-maintained machine not only saves energy but also reduces the need for frequent parts replacement or service calls.
Diagnosing washing machine repair problems involves a careful blend of observation, testing, and preventive thinking. From visual inspection to power, mechanical, and drainage checks, each step helps identify the root cause of performance issues. Using modern diagnostic tools further enhances precision and reduces unnecessary part replacement. By maintaining clean components and balanced operation, homeowners can extend the lifespan of their washers and avoid sudden breakdowns. Every successful repair begins with accurate diagnosis, guided by attention to detail and proper maintenance habits. An efficient washer brings both convenience and reliability to daily household routines.