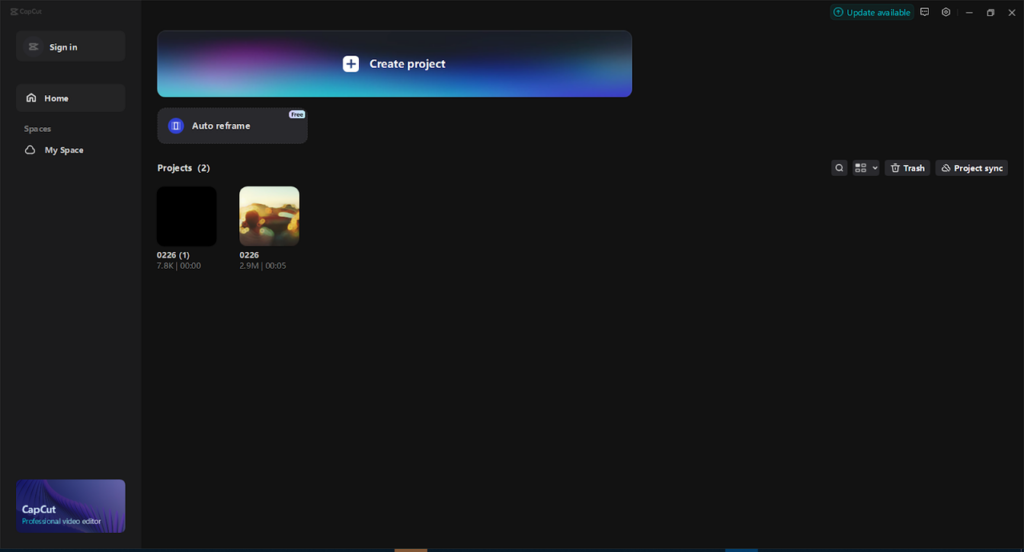
CapCut is an easy-to-use and feature-rich video editor for PC that offers users plenty of features to create good-quality videos. Although it is mostly renowned for video editing, CapCut is also excellent for audio editing. Whether you are adding voiceover, background music, or sound effects, or creating AI videos with its AI video maker, its desktop version is packed with plenty of tools to boost your audio and enhance the quality of your video.
In this article here, we are going to guide you through the process of editing audio in CapCut Desktop, from recording and voiceover addition to sound effect addition and audio level adjustment.
CapCut Desktop Audio Editing: An Introduction
Before we proceed to learn individual audio editing steps, let us first familiarize ourselves with the overall process of using CapCut Desktop Video Editor to edit audio. CapCut is an easy interface, so there is no need for high-level technical knowledge to learn audio editing with it. Here is a basic guide to getting started:
1. Install CapCut Desktop Video Editor
First, install and download CapCut on your computer. It is compatible with Windows and macOS. Once you have installed it, launch the app and create a new project by choosing “New Project” from the main screen.
2. Import Your Audio and Video Files
Once you have your new project open, you can import your video clip and any audio you are using. To import them, drag and drop the audio and video files into the media library.
3. Put Your Files on The Timeline
After importing the media, drag the video clip into the timeline. You can also drag your audio files into the audio track below the video clip. CapCut will automatically separate audio from video, and you can edit each track independently.
Voiceover Editing in CapCut Desktop Video Editor
Voiceovers are a fundamental component of most videos, such as tutorials, vlogs, explainer videos, and documentaries. CapCut offers a simple means of adding and editing voiceovers to your video, which is professional. The process of recording and editing voiceovers is as follows:
1. Make a Voiceover
CapCut does have voiceover recording features within the app. To include a voiceover in your project, you need to do the following:
Step 1: Tap on the Voiceover button.
Step 2: Once you press this button, CapCut will ask you to begin recording. Ensure that your microphone is well-connected and functioning before recording. Click the Record button, and start talking into your microphone. You can view the waveform of your voice on the audio track as it is being recorded.
Step 3: Once you’re done, click the Stop button. The voiceover will automatically be listed as a new audio file in the timeline.
3. Edit the Voiceover
After you have done your voiceover, you can cut it to align it with the video. There are several options in CapCut to cut the voiceover:
- Trim and Split: If there are parts of the voiceover you don’t need, just pick the sound clip, right-click, and click on “Split.” You can then delete unwanted pieces or cut them up and relocate them to other areas of the timeline.
- Adjust Volume: For your voiceover to be audible and in sync with the rest of the sound in your project, you can adjust the volume. Select the audio clip and right-click to choose Volume to raise or lower the level of the audio.
- Audio Effects: If you wish to enhance your voiceover, you can apply audio effects such as equalizers or noise reduction. You can apply this if there is noise in the background of your recording or you wish to soften or strengthen the tone of your voiceover. You can even generate captions with its AI Caption Generator.
Adding Background Music on CapCut PC
Background music is the other key feature that contributes emotional depth to your video. Adding and editing background music in CapCut is simple and can be done through the following simple steps:
1. Include Background Music
First, add the background music. You can select music from the library of CapCut or upload an audio file. To do that:
Step 1: Drag your music file from the media library and drop it onto the audio track in the timeline.
Step 2: Shorten or lengthen the song by moving the edges of the music clip. You can shorten or lengthen it to your clip’s length.
2. Lower the Music Volume
Be sure to keep the level of background music and other sounds in your video balanced. If your sound effects or voiceover are too soft compared to the music, they will be hard to hear.
To adjust the music volume:
Right-click on the music clip in the timeline and select Volume.
Tune the volume of the background sound using the slider to a level where the voiceover is audible and clear.
Fade In and Fade Out
You can apply a fade-in or fade-out effect to the music to integrate it more smoothly into the video.
Conclusion
It is simple to edit audio using CapCut Desktop, thanks to its intuitive design and sophisticated tools. Whether recording voice overs, editing background music, or introducing effects, CapCut allows you to create an elegant audio experience that is perfect for your video content. With volume, audio effects, and accurate sync of audio to video, you have everything it takes to produce high-quality audio for any video project. Through mastering these tips for audio editing, you can upgrade your video editing and produce content of professional caliber.


